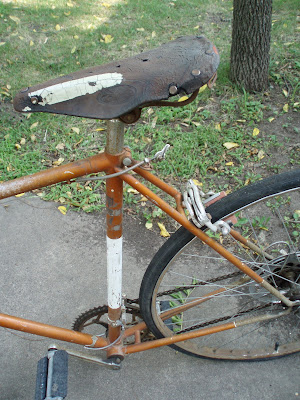
New leather bicycle saddles tend to start around $60 (the Brooks Titanium Swallow is $500), and I'm cheap, so I didn't want to spring for a new one. A plastic seat on this bike just didn't look right, so I decided to replace the leather. Here is what I did...
 |
| Here's the broken seat. |
 |
| I pulled the old copper rivets out by unbending their back sides. |
 |
This is what the frame looks like without the leather on it. The leather gets stretched from back to front creating a sort of natural 'suspension' system.
|

Next, cut-out the new piece, using the old as a stencil. After a little investigation, I found that you probably want at least 8 oz. leather (this indicates how thick it is) as a minimum. 10 oz. leather is probably ideal. Most places aren't in the business of selling a single 6" x 12" piece of leather, but if you look around, you should be able to find the right seller, eventually.

Now lay the new leather over the frame and get it into position, making sure it's a good fit. Punch new holes in the leather to align with the holes in the frame (don't worry about prepping the three holes on the little front piece until you have the back part completely finished).

I found these #9 copper rivets at my local hardware store for $.27 each. I got larger washer that would slip all the way down the rivet (the #9 washer is made to stop just a fraction of the way down the tip of the rivet). Push the rivet through the leather & the hole in the metal frame, and then slip the washer on the back side.
Now it's a matter of peening the rivet (no photos for this part!). This just means that you smash the rivet's point with a hammer until it's all mushroomed and disfigured so that it won't & can't slip through the washer again, ever. It's a little tricky to peen the rivets with the seat's rails getting in your way, but you'll find the right combination of tools that were meant for something else, to make it work.

Here is the final result. NOTE: in order to keep the whole seat from flattening like a pancake, I punched a couple of holes in each of the sides and laced them together underneath. This gives the leather much better form & structure.
For more general information on leather bicycle saddles, check out Sheldon Brown's page
This old leather broke the third time I rode it, leaving me without a leather saddle.

No comments:
Post a Comment